

Sled sprints and resisted acceleration training
Resisted acceleration training with a sled: load selection, the velocity loss method, a technique checklist, the distance-reps-rest balance and a sample session.
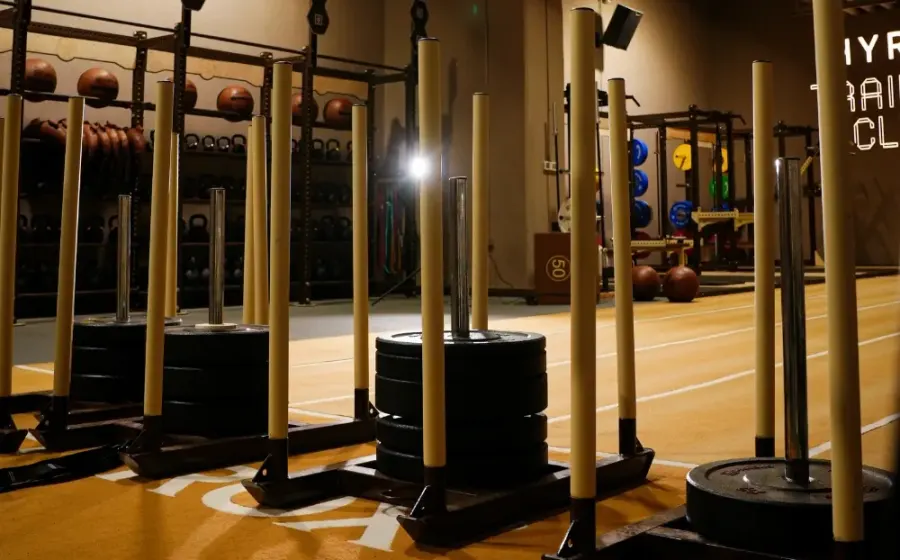
Sled sprints and resisted acceleration training, is the training format that bridges strength and technique in speed development. When an athlete runs against a resistance such as a sled, belt, or vest, the direction and duration of the force applied to the ground change; this directly targets the horizontal force production that is decisive in acceleration. At O’Athletic Sky in Skyland Sarıyer, we use resisted acceleration as a fixed part of our speed blocks.
The appeal of resisted running is its simplicity: both strength and technique are worked with a single piece of equipment. But the same simplicity creates problems when applied incorrectly. The size of the load, the distance, the number of reps, and the period in which it is used determine whether the work serves speed or strength.
What does resisted running change?
In free sprinting, the athlete starts the first steps with a forward-leaning trunk angle and becomes more upright as distance increases. When a sled is pulled, this leaning position is kept for longer. Ground contact time lengthens, stride length shortens, and the workload of the hip extensors increases.
The practical result is this: resisted running artificially extends the first phase of acceleration. The athlete stays five or six steps in a position they would normally pass through in two or three, and learns to apply force in this position. For technique teaching, this does something static drills like wall pushes cannot: it keeps the position alive in motion.
Which quality is targeted?
- Heavy loads: maximum horizontal force production; work near the strength end.
- Moderate loads: power output; the zone where the product of force and velocity is highest.
- Light loads: work near the speed end; technical fine-tuning and speed maintenance.
How is the load chosen?
There are two approaches most used in field practice. The first is setting load in proportion to body weight, the second is adjusting load according to velocity loss.
Body weight ratio is simple but does not account for the friction coefficient of the surface. The same 40 kilograms produces very different resistance on parquet and on artificial turf. For this reason, the more reliable method is measuring velocity loss.
The velocity loss method works like this: the athlete's unloaded 10 or 20 meter time is measured, then the same distance is run with the load. The difference between the two times objectively defines the weight of the load.
- Under 10 percent velocity loss: technical fine-tuning, speed-focused work.
- 10-25 percent velocity loss: the power zone; the most commonly used band.
- 25-50 percent velocity loss: strength-focused; valuable as long as technique does not break down.
- Over 50 percent velocity loss: technique usually breaks down and the running pattern is lost; not recommended except for rare and special purposes.
Technique checklist
The biggest risk in resisted running is the athlete hunching the trunk to “pull” the load. In this case the line between hip and shoulder breaks down and the work drifts away from running mechanics.
- Head, hip, and heel should be on the same straight line as much as possible.
- The gaze should not be straight down but directed a few meters ahead.
- Hip height should not drop; a sinking hip shows the load is too heavy.
- The knee should be driven forward, and the foot should land under the body.
- The arms should work actively and broadly; the shoulders should not rise toward the ears.
Distance, reps, and rest
Resisted acceleration is worked over short distances. Given that the load targets the acceleration phase, the 10-25 meter band is enough for most purposes. At longer distances the work gradually becomes a conditioning stimulus and its contribution to speed gains decreases.
Rest is the most critical variable that determines the quality of the work. So that each rep can be done at high quality, 2-3 minutes are given between reps. A sled pull done by an athlete who is out of breath does not count as speed training.
Sample session
- RAMP warm-up: 12-15 minutes, finished with progressive accelerations.
- 2 reps of free 15-meter acceleration (nervous system priming).
- 4-6 reps of 15-meter resisted acceleration, at a moderate load.
- 2-3 reps of free 20-meter sprint (for the contrast effect).
- Short cooldown: breathing work and light mobility.
The contrast logic is important here: free sprints done after the resisted reps make it easier for the athlete to carry the newly learned pushing feel into normal running.
Placing it in the program
Resisted acceleration sits right at the start of the speed block and is limited to one or two sessions a week. When match load increases in season, this work is not among the first items to be cut; on the contrary, continuing it at low volume helps preserve the speed quality.
In the preseason period, the share of heavy loads can be increased. As the season approaches, the load is lightened and the proportion of free sprints is raised. This shift is the typical reflection in speed work of the transition from the preparation period to the competition period.
Who is it suitable for, and who should be careful?
Resisted acceleration is a safe and efficient tool for athletes with established basic hip and single-leg strength. In young athletes it can be used with light loads and for technique teaching. On the other hand, if there is an active complaint in the Achilles, calf, or hamstring area, a health professional should be consulted before starting high-speed or loaded work.
Choice of surface is also important for safety. Slippery or uneven surfaces can cause the foot to slip unexpectedly. At O’Athletic Sky, we do this work in areas with known friction that does not change from one measurement to the next; this provides both safety and data consistency.
Alternative tools
There are a few options besides the sled. Resisted accelerations with elastic bands produce a different stimulus because the resistance changes with distance. A weighted vest mostly increases vertical load and has a limited effect on horizontal force. Uphill sprints are an easily accessible, practical alternative; sloped routes around Sarıyer can be used for this purpose.
Whichever tool is chosen, the principle stays the same: work without technical breakdown, in a rested state, over short distances, and with measurement. In our programs at Skyland, we apply resisted acceleration within this framework, dosing it according to the athlete's speed profile.
Related articles.

Single-leg strength: Bulgarian split squat, step-up and lunge variations
Why is single-leg strength critical? Bulgarian split squat, step-up, lunge and single-leg RDL variations, correcting asymmetries and programming.
Morning or evening training? Timing for performance
Train in the morning or evening? Circadian rhythm, performance fluctuations, adaptation and practical solutions.
Bench press and upper-body pushing strength: an athlete-specific approach
Bench press technique and an athlete-specific upper-body pushing strength program: setup, shoulder health, variations and programming.
